Monday, May 22, 2017

Autumn Shaker Cards: Oh what fun!

The Challenge in our stamping group this month was Autumn cards so I decided to try out some new thin mounting tape I ordered from Stampin Up and make some shaker cards.

Let me share this secret with you, I have not made shaker cards in years!  I mean YEARS!

So I'm a bit rusty and out of the loop-- but I did it anyway and am proud to share them here now with you. 

So come,  have a look!

Here's card # 1:

Normally not one for images without noses or smiles, I couldn't resist this one as Fall is my favorite season of all.
 
 I didn't know when I stamped this image I'd be creating a shaker.. didn't know till it was just about done! :)  I stamped the image, colored it in with Copics then stenciled in the sky.  When I got over to my die cutting area in the studio I used one of my favorite dies from MFT.  I liked the idea of the border being apart of the image. 

It was here that I looked in my stash of patterned papers for a background... what could be more perfect then a day at the pumpkin farm?
 These two photos show the shaker  section best.  The leaves on the outer rim were scraps of silver glossy card stock... I die cut them then colored them with my Copics. They bring the inside scene out I think. What do you say?  They also have a bit of sparkle... as if carrying that from the inside out as well.
 I hope you enjoyed this card. I'll publish the 2nd card I made shortly.
Meanwhile, enjoy your day.   

Thanks for stopping by.  Feel free to leave me a comment so I know you were here.

Cara "Febe" Giaquinto


Tuesday, February 14, 2017

Jack's Travels

A week or so ago a friend and I were down in the big city and we had my Jack with us.

Here's a photo I have to share:

He seems to be thinking his head is heavy as he rests it on the window sill.  Funny guy.  All my other dogs curled up on the seat and slept while the vehicle moved along the highways.

But not Jack. Oh no, he's got his own way of traveling, take a peek!

Here's his left side.  He's sound asleep here.

Now, for the right side:

This is Jack's normal position in my car.. here we're in my friends big SUV, and if you look at Jack's butt you'll see my husband has a hand on Jack... just a tiny bit of support.  His front legs you'll see that the leg in back, along the seat is bent at the knee (we don't see this) however we do see his paw is slightly raised off the seat.

Jack's a hoot.

Thanks again for stopping in to visit and enjoy the photos.
Leave a comment below if you like-- let me know you were here!

:) Cara Febe

Celebrations continue

This birthday card really was a blast to make!  First off I used stamps a friend brought over one day...  these little monsters are so cute and at first, I'll admit I didn't think I'd find a reason to use them more then once. But oh, gosh, after I completed this card the other day I went online to My Favorite Things stamps and ordered myself the set.  I just couldn't see myself living my life without the Monsters there.  And I already believe I'll be using them for another little girls card.... :)

OK, this card is a interactive card. Meaning when the recipient opens the card it moves -- I mean, it MOVES... The card pops open and pivots around at the same time.  Really exciting to see.

Enough said , let's have a look!

The card closed. Primary colors went perfect with the images.

I tried to slowly open the card, holding it with a tweezers so that you may get the feel of how it begins to move.  The inside panels you see now are lifting up off the bottom of the card and starting to open.


 As I lift the top up higher the inner panels continue to move and begin to stretch outward from left to right.
Isn't this just the coolest??? 

A fully opened view:
I had so much fun creating this pop up and twist card that I forgot to take photos before I wrote a simple birthday greeting inside.

I am looking forward to giving both these two cards away next week... and I really can't wait to see the reactions as they are opened.

Hope you enjoyed, as always feel free to leave a comment so I know you stopped by.

:) Cara Febe

Time to Celebrate!

Last week I needed two birthday cards for two men -- and I wanted them to be focused on FUN and to be bright and happy.  These men are not family but are very important to me non the less so I really spent some time on these two cards. I enjoyed every second of every hour that I worked.

I"m proud of both cards and would love to share them here.

The first card is what is know as a Z fold -- the card opens like a Z on it's side... so at first you see the complete front, and a partial view of the inside.

Then you see the inside as you open the card and leave it on display. That's the view shown below.  The lower half of the front of the card stands out from the fold line so that the Dragon  (Sweet Pea Stamps) stands out off the card.  I used a piece of plastic from a box to create and support the balloon which appears to be floating in air... and when the card is opened or closed it moves which is a really cool and fun thing!

 I was attracted to the Sweet Pea line because I already owned from years and years ago some fun images that would work with their dragon.  There's no info. on the fishy balloon stamp but I really thought it would merge well with the Dragon.

Then what's a Dragon without a Wizard????  This Wizard is an oldie but oh so loved!  The company that created this wizard, Visual Imagine Printery is no longer around.

I enjoyed creating this card very much as it allowed me to add a bit of scenic stamping -- I got to create a floor for the wizard to stand on and the Dragon I anchored with a bit of a grassy area.

Painting in the Dragon with my Copics was a blast!  Since no one on earth can tell me what color a Dragon should be, I just played! I stamped him first in black Memento ink then ran the image (I stamped 10 0f him!) thru my Brother ScanNCut machine and "OH he's so cute!". Then I brought him to life with my Copics and glitter.    I' also painted up a girl Dragon in pinks... as I have plans to create a card for a friend's little granddaughter.
My Wizard is really neat.. I love how he holds up a blank sign which allows me to use him for many different reasons.  Who knows, one day he might find you!
If you've never seen a card like this and are wondering where a person message would go I tend to put mind inside the center of the card, just behind the first image you'd see. On this card it's behind the Dragon.

Thanks for stopping by, sure hope you enjoyed the card and will leave a comment so I know you were here.

Sign up on the right side for notices of when I update this blog.

Have a great day!

Cara Febe
 

Wednesday, February 1, 2017

Stepping back in time...

In one of my groups there was so talk last week about all the new images we tend to use now a days and also how some stampers are still using older stamps, older images. 

I thought about this for a few days and decided that I needed to reach back in time and pull out some older stamps.

So today I worked with this image from Inkadinkado and the date on the side is 2012... OK, it's not THAT old but still, it's got a few years on it.

So here's my first card dipping into the past I do hope you like it!

:)

 The main image is the one I aimed to use and then as I colored the image I realized it was a hat box up on the left so I went looking for wordage that would blend well with the theme.  I hope you agree.

This card will be sent to a 'new friend' and shared in that group I hope.

:) Thanks for stopping by.

Please leave a comment so I know you were here.

:) Cara Febe

Friday, January 27, 2017

I completed a fun birthday card the other day that I'd like to share here and store here so I can revisit it in the future.  

I never was one to make a copy of a card for myself to keep. I made a card, I sent the card out.
I figured I enjoyed creating the card and that was good enough.

Now, looking back over my stamping life I realize there were cards I wish I had a photo of at least.  Cards that were made for special reasons, special people.  But as we grow older sadly we lose friends and family and with them, our art.

So lesson learned, photograph anything you love that you made and store it away for viewing again later on.

While the person may be gone, the art you made them can remain alive. Warming your heart when you think of the loved one lost.

So here's a special birthday card I made, that I love, and enjoyed creating.

Here's the card closed.

Then opened!  Just love how the balloons on wires stand out from the card.

 Thank you for stopping by and please, feel free to leave a comment so I know you were here.

Cara Febe
 

Thursday, January 26, 2017

oops I forgot the side view!

Hi,

I forgot to add the side view so you can see the 3-D layers better.


Again, thanks for stopping by!

:) Cara Febe

New year... new art.

It's a new year and a good time to give this blog another go.

I've been busy creating some -- what I think!-- are nice cards for some friends that do not belong to or are involved in my online crafting groups.  So in order to be able to share them, I'm posting them here for others to enjoy.

We've had a cold and wet snowy winter so far.  First it was the snows at Christmas time and now in mid to late January we've had snow, rain, hail, and finally ice!  Soon I hope the sun will shine and I'll be inspired to stamp up some floral cards.

Here's a card created last week while it snowed and rained on and off for two days.
While it never amounted to much, I stayed indoors just the same.

This is the first version of the card I did.  While the snowbank is layered, it's flat. I did not go 3-D and I placed the inside sledding gal up high enough to be seen over the snow banks.

I used clear plastic with white specks on the front layer so that the viewer can see beyond the snowbanks to what's going on inside the card.  To complete this version I used glittery snowflake stickers and rhinestones in the center.

Here's an up close peek at the inside: 
I added a few more snowflakes to the inside and used a designer paper that matched the front papers .. this was perfect for my little gal to sled ride on.  I put a personal note on this card just writing below the blades of the sled.

Then I did another card, just about the same... only this time I did 3-D the layers.

 For this version of the card not only did I 3-D the layers, I used an iridescent card stock so that it picked up on the violet of the main characters' outfit.  I punched out snowflakes to match and completed them with rhinestones.  This time I also 'hid' the sledding girl further down behind the snowbank.  

These  were fun cards to create for two special friends in my life.  

Thank you for taking the time to stop by.  Please feel free to leave me a comment so I know you've stopped by.

Enjoy your day.

Cara Febe


Sunday, May 1, 2016

Friendships and inspiration....

A few weeks back a friend shared a card made by another friend in a card exchange group I belong to.  The card was beautiful and knocked my socks off!  I love the way my friend worked with just a few colors and a few images to create a thing of beauty.

Here's her card, I don't think she'll mind me sharing... I"m sure she is 110% proud of it.

See, isn't it just beautiful!  
 This was made by my friend Celia for another friend and shared in the group.  I saved the photo because I just fell in love with it.

Weeks have gone by and yet this card remained on my mind.  I've been busy creating cards for swaps I'm in, and for building my stash of cards because it's so so very low.

Yesterday I couldn't take the pull of this card anymore and had to sit down and play!

So I pulled out my Color Burst pigment powders, and some Mica paints another friend inspired me to try.. and played on water color card stock.  I created a big mess, turned my fingers all sorts of colors and enjoy the stress free playtime....  so thank you to Celia and my friend Adriane...  I do see what you do, I do hear your suggestions and I do try things out.  

I pulled out some stamps... 1 actually.... and I used some butterfly dies as my friend Celia did...
I pulled out a floral embossing folder and played some more.

Here's card number one:

 I'm sorry it's not as bright as in person.. the blues and greens blend and merge and then the golden green mica paint adds just a bit of metallic color.  I used a Sharpie black pen to highlight and outline on the butterfly.  I used a Copic Multi liner pen to add some specks to the wings.

Here's the 2nd card done:

This card used the other side of the die cut edging... and then I die cut smaller butterflies not knowing at the time where they would go.  The background word stamp is one big stamp by Stampendous about Friendship.

I'm making a few cards with these components to add to my stash.

If you haven't yet played with the Color Burst pigment powders may I suggest you see which friend you know has them, and plan a play-date to explore.  

:) Thanks for stopping by, and please , drop a comment below so I know you were here.

Enjoy your day!

Cara Febe


Wednesday, March 30, 2016

Pocket Letter Cards are really just ATCs put in a sleeve... but are they?

One of the recent swaps I joined in Stampers of the USA group was a Pocket Letter Swap.
If you don't know what they are there is a ton of information out there on the web but basically it's a collection of 9  2.5x3.5 cards that are slipped into a plastic protection sleeve.  On the flip side of the collection of art most folks put little trinkets-- some examples are items you'd craft with, or sticks of gum, tea bags, chocolate...  the list is endless and limited only buy the size of the sleeve opening..  AND what you wish to spend to mail the finished piece.

For this project I decided to show the person I was mailing the pocket letter too more about me, who I am, where I came from.. to focus on the two states I have called home.  New York and Arizona.

 I"m from Long Island, NY.  Grew up at the beach, on the water, in the back yard, pools and BBQs all summer long.
It was a great place to be raised and I have a ton of fond memories.  I met and married my husband there.  


Years later after crossing the country three times in an RV over a years time we settled down in the Grand State of AZ.
We tried different areas of the state.  First Casa Grande, then Mesa, then we left for a short  while and lived in Indiana.

But Arizona had dug her roots into me and back we came.


 There's no place I've ever been that has such beautiful sunsets.  We spent some time in New Mexico, where it's often said that the sky's beauty is unmatched.  But to me, it's the AZ sunsets I love watching over the mountains.  Love the colors and the patterns in the sky.  The shadows the mountain casts below as the Sun silently slips behind them. 
All this pulled at my heart strings.   I had to return to AZ.  And here I am!

But those memories of Long Island remain still, and are dear to my heart.  

So this Pocket Letter is filled with 9 card fronts and 6 backs that have art work too.  Then three tell a story about me.

I did not take photos of all... as I wanted the person that I created this form to have something that is just for her eyes
 only.  If she chooses to share it with the group we belong to, that will be up to her.  BUT here, I wanted to share some of it with you.
I enjoyed making this project, first, for the person it is going to, and secondly because I love stamping scenes and do not get to do that too often anymore. 

This card here on the left, reminds me of a 'smelter' that sits near  the highway just a few miles east of me.  I"m not sure what the remains in this card are.. but it looks like the broken and abandoned smelter on the highway.  I'm sure its really some old adobe blding of some sort.


Here's Long Beach... NY.  LOL Not really, but it sure makes me think of the beach and the boardwalk and the times the family went to enjoy the boardwalk. 

There were rides there, like a carnival.. but always there on the boardwalk.  And stores, but not stores, places to go play games... I remember one my brothers and i loved... you rolled the ball up the board and it went into a maze then round and round till it slipped into a hole... points were awarded and the machine gave you tickets.  You'd collect them and hand them in for prizes.  Mom saved up all our winning tickets all summer long and then just before school began in Sept. we got to pick a prize at the boardwalk and cash in those tickets.

That area is long gone, apts. and condo's now.  And no place for today's children to make and grab memories like I have.  

Well, I hope you enjoy the art I've shared, as well as a walk thru my past.

Thanks for stopping by, and please, leave a comment so I know you were here! :)

Enjoy your day.

Cara Febe 

Monday, March 28, 2016

Creating a Whisky Jug Card for a swap required some learning on my part

Wow! Time flies... I promised myself I'd do better at posting here back in Jan., and here it is already the end of March. Where did this time go?

I've gotten so much better using my scanNcut and really enjoy it.  I highly recommend it to any crafter-- it's that wonderful!

At this point in time I'm learning how to take a graphic off the net and in brother's Canvas program (free!) flip it from a jpg to a svg cut file.  I recently did it for a card I had to make for a state swap-- One of the groups I'm in features a different US state each month and for Feb. it was the state of Tennessee.

After doing some research on the state I decided that I'd make a Whiskey jug booklet.
Once I had a drawing of a jug I had to upload it to Canvas and change it to a cut file, then make several and join together so in the end I could fold it up like an accordion and turn it into a booklet.


 Then I needed to learn how to take the new file and make it just a wee bit smaller so that I'd have a place to decorate and stamp on, yet it would leave a green border.


You can see how the white cardstock is cut perfectly to fit into the bottle and to create a insert for each side of the green bottle I just flipped my file over in Canvas and then it was cut with the right side of the paper facing in the correct position.
 On one piece of 8.5x11 cardstock I was able to cut 4 inserts by laying them pretty close together.  As you can see very little paper was wasted.  THAT alone is a wonderful thing!

Once enough of the white jugs were cut out I was able to lay out my stamping designs based on the anecdote about the state of TN that I read on one of their tourist web sites.

I DID ADD THE FIRST LINE: TENNESSEE WELCOMES YOU.

After all the stamping was done, I added color and then put my sections together.

This inviting cabin sits on the left bank of the waterway.  The Gentleman that lives there loves to take an early morning paddle around the lake.  Often times his wife remains home enjoying the quiet time getting some crafting done.


 Across the lake lives his good friend and some mornings he's out on the lake just before him. They pass each other as one begins his rounds, and the other ends his.  His cabin is smaller, and he always says when he finds a good crafter he can make his own he'll add on a room or two.


Further down stream often times the public comes to enjoy a day in the great outdoors.  Horse back riding, fishing, or just taking a walk everyone can find something to do in TN.  It's a beautiful state and a great place to vacation or live and raise a family enjoying nature and all that it offers.


The Boys Scouts enjoy a day of hiking the trails and learning to fish in the rivers and streams.

Sporting dogs abound as the water fowl are abundant! 

The complete card/booklet when put together and opened looks like this:


The front cover, which I forgot to take a photo of says

Gentleman Jack
Pure Tennessee Whiskey
Est. 2014

I named my whiskey jug as such because in 2014 my friend came to visit and met my Springer named Jack when he was just 6 months old.  I thought she would get a kick of the name.


Thanks for stopping by, I hope you enjoyed my art and my little story.
Please feel free to leave a comment so I know you were here.
Sign up if you wish to receive updates when I add new posts.
Hint: I just completed and mailed another big stamping project to a friend, and I plan to 
upload it here as well, just as soon as She gets it!  

:) Have a great day!

Cara Febe Giaquinto 
 

Sunday, January 17, 2016

Jan. 17, 2016

Practice makes perfect... and while I'm far from perfect I am getting better- with my ScanNCut.

I stamped up 9 snowmen the other day, then had the machine do the cutting for me... it took a total of 3 minutes to stamp and scan and cut!  Unreal.

So here are the snowmen stamped up:
 The stamped image is from My Favorite Things and is acrylic not rubber but stamped up beautifully with a Memento's ink pad.  The image did not have that line across the bottom. It was left open, and I drew that in so the machine would know where to cut.  I"m learning the machine needs to see lines that continue to flow to cut correctly.

So 9 images on one sheet of cardstock by SU.
Here's the cut photo:

You can see how well the shapes are cut out.
 
here's my pile of cut snowmen!


Again, stamping and scanning then cutting... 3 minutes!!  Can't do that by hand.  Now, here's the last photo: then colored up ready to use snowmen!

Now isn't that just the coolest invention?!?!?!

Some of these snowmen will be used for Feb. cards this year and a few may be used for Holiday cards later on.  I'll know more once I go into the studio and create.

:) Next up with my new 'toy' is to get it drawing for me.  LOL

Yep, it draws too.!

Thanks for stopping by. Please let a comment if you like, let me know you're out there.

:) Cara Febe Giaquinto


Tuesday, January 12, 2016

Happy New Year

January 11, 2016

It's been awhile since I posted.  Alot has happened in our lives and now that it's getting leveled out I hope to get back into posting and sharing.

I recently got a Brother ScanNCut2 machine that can scan in anything (flat) and then cut it out.
This is major!

It's been a few years now that I stopped using Xacto knifes in the Studio as well as doing detailed cutting in my crafting.  The Scan N Cut allows 'me to cut' again.  To create 3-D cards by means of layering cut images.  This is major!!! 

Currently I am just learning the machine, it's buttons and how it works.  Several gals I know have one so there's a ton of information sharing going on, but the best teacher is experience and discovery.  

Here's a sample of two images I colored in last night and had the machine cut for me.
I did go over the outline of the images with a black Copic Multi Liner pen # 1 or # 8.
I believe it's helping the scanner pick up the outline better.  I like a detailed cut on the line which is the way I used to cut out my images... most gals seem to enjoy the use of the border button.  Yes, you can select how thick a border you would like and the machine gives it.

Here's the detail cutting:

If you'll take notice of the right side of the snowman, LOOK! even his little branch arm was cut for me!  :) Woo hoo!

I'm not 100% sure why the snow on the left image was deleted, or not seen, and yet the snow on the right image was seen and left in.  I need to continue to learn.   I'll have plenty of opportunity right now too as I'm working on cards for RAKS and February birthdays, the first step, getting enough snow throwing gals cut out and ready to mount.

Thanks for stopping by, please feel free to leave a comment so I know you were here and I'm not just talking to myself.  

:) Be creative today,

Cara Febe Giaquinto

Sunday, October 4, 2015

Needing more time? R E T I R E !

OK, if you are retired, you're laughing already.

Retirement doesn't really give you more time-- no sooner does the alarm clock stop waking you up for work then your inner body wakes you up.. and then it's time to fill the hours.

A friend and I were emailing about this just today, and then I recalled a card I made a few years back for my banker that was retiring.  I'd love to share it with you today since to me it's relevant.

 The flower image is by Stampendous and one of my favorites as far as Roses go.   I think this was my first step into hinged cards.. and boy did I love it!

Creating a hinged card with these types of dies really showcases their beauty.  To learn more about hinged cards check out : 

http://www.amazingpapergrace.com/filigree-hinged-card-tutorial-and-a-giveaway/

I picked yellow as my color due to it's meaning which you can read about here:

 http://www.proflowers.com/blog/history-and-meaning-of-yellow-roses

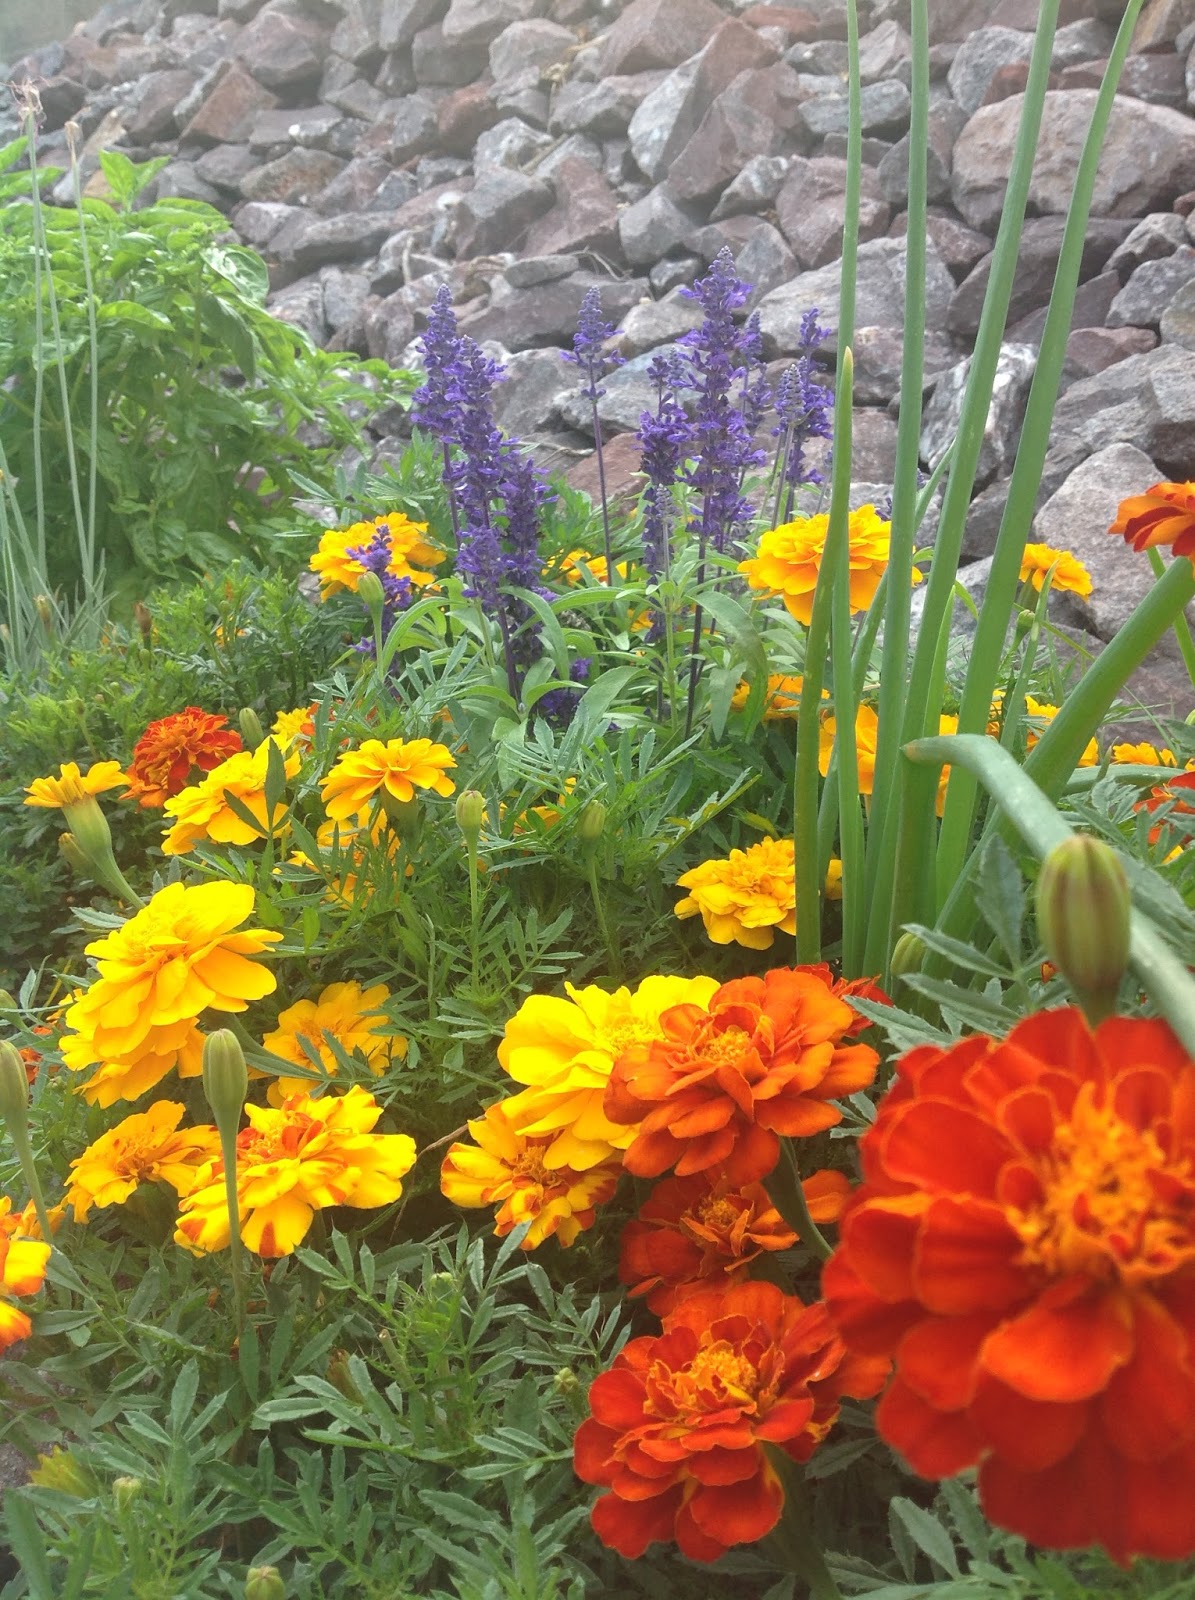
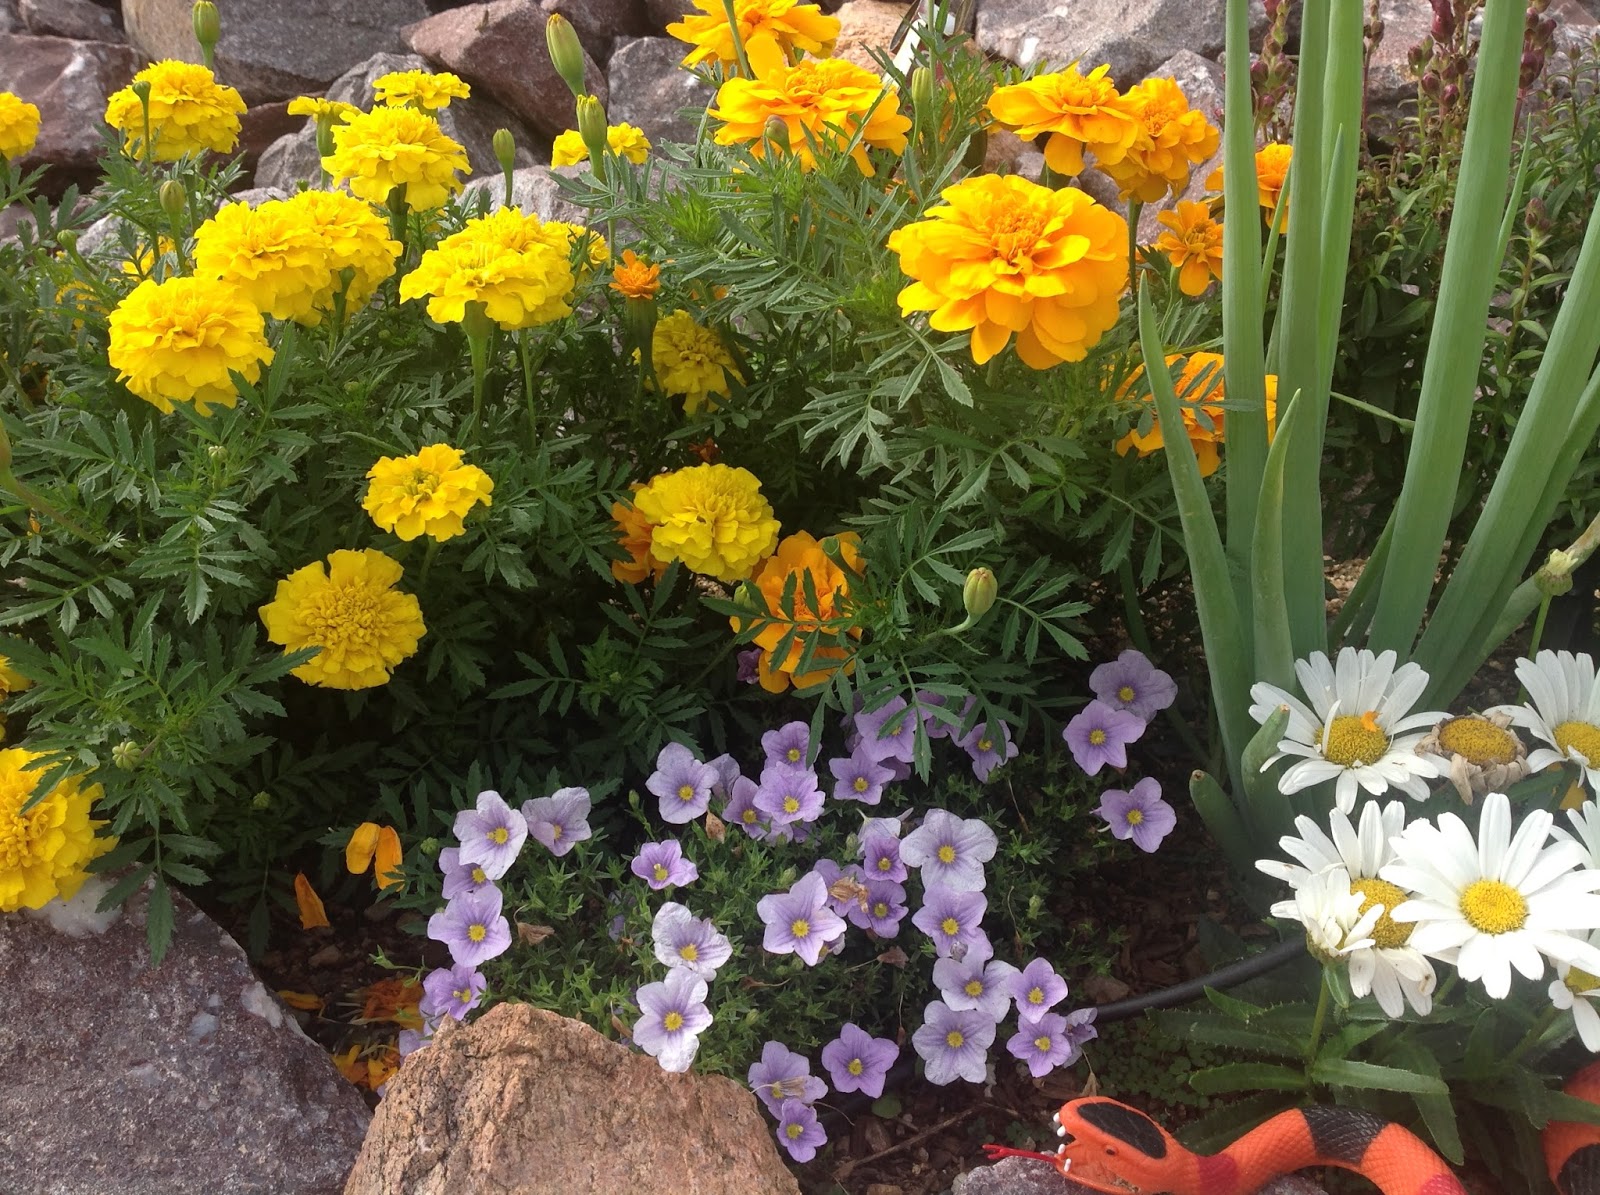
Allow me to share with you some photos from my gardens....  the yard and it's wonders are also a passion of mine.

Our yard is built into a mountain and the retaining wall wraps around 100 feet.  The wall itself is about 3.5 high, then the slope is covered with rocks... it's this wall you're seeing in the photos here.  On the base of the wall I grow flowers and herbs.  There are some plants that return each year and then each spring I plant different flowers to bloom till late Fall.  Come early Nov. I clear the garden out and shut down the automatic watering system.

I begin again in late March planting flowers. In May, the veggie garden comes to life. 


Tonight we'll be eating these two guys.... YUM!  And if you look hard, you can find a green tomato or two in the background.  Next weekend I plan to rip the garden down, so anyone not ripe, or on their way, head off to the trash.  This year I can not let the garden continue till the end of October.  I'm needed elsewhere.


As always, thanks for 
stopping by and please, if you like, leave a comment. Let me know you were here. :)

Have a great day!

Cara Febe Giaquinto

Wednesday, September 23, 2015

First day of Autumn

Fall is my favorite time of year.  Growing up on Long Island (NY) I got to enjoy all the wonderful colors Mother Nature thought so kindly to share with everyone.  Golden reds, bright oranges, and browns in so many shades one can't even name them all-- least not me!  

Driving on the Southern State parkway was like living in a hand painted masterpiece.  Every turn around the bend revealed another layer of art to thrill and excite me.  I loved the change of seasons from Summer to Fall.  

When I was older I'd take the Long Island Ferry across the Sound with friends.  It was such fun to drive our car onto the ferry and relax as we crossed over to Connecticut for a day long adventure driving around the farm lands, and thru the many roadways with the splendor of Fall.  I do need to admit here and now that each trip taken was planned so that we could visit different rubber stamp stores along the route.  The added bonus was the farm stands ripe with Autumn treasures. 


The changing of the leaves meant soon my favorite holiday would be here.  I loved celebrating Halloween it was the most enjoyable and fun holiday all year long.  In the house we didn't have to prepare for days for the dinner quests as we did for other holidays,for there were none!  No need to do extra chores or any extra cleaning.  Halloween was about F*U*N!

Weeks before the holiday Mom would help my brothers and I figure out what we wanted to be dressed as and then the week of the holiday our excitement took over and we bounced around as if we had already eaten a bucket full of sugary candies.

Yep, Fall was and is my favorite time of year, and Halloween was and always will be my favorite holiday.  So it it any wonder that today I'm going to share with you some cards I've made using images from my favorite rubber and digital stamp artist:  Ms. Mo Manning!

It's a few years now that I've been collecting her images in rubber.  There are several companies that sell them, one is Penny Black and I've finally figured out how to upload a link to pbstamps.com on the side bar-- John, the owner, is a doll to shop with.  He goes out of his way to be sure you get what you want, quickly, and at good prices too.  

Stampendous.com also stocks images by Mo Manning, as does Stampingbella.com.  My most recent purchases for Christmas images came from there.  Expect soon to see them here as well.
You need to check all three places because each carries different images created by Ms. Manning.

Meanwhile, take a peek at cards I made to celebrate Autumn and Halloween-- images are a mix of rubber and digital. (Since I'm talking about my favorites, let it be known my favorite type of image is that which is made of natural man made rubber.  Cling or wood mount.  )

 These first two images come in a transparent set of stamps by Penny Black called "Glenda and Frankie". 

Regardless of my passion for natural red rubber, I had to get this set because my husband's name is Frankie and like the artist, the season and the brand, Frankie is one of my favorites too! ;) 

Next up came my first step into the digital world...  

A few years back I was left with no choice but to purchase a laser printer so that I could purchase and print more images that was available in rubber.  While I liked that I could adjust the size of the images to fit my needs, I missed using an ink pad and working in my studio.  However I did print myself up a bunch of the images I bought, and have them filed away for use any year I'd like to use them.


 I esp. enjoyed this witch flying as I wanted a dark sky, yet not so dark as to miss seeing her fly by. So I worked with two different shades of grey Memento Ink Pads and some ripped text weight paper to create this scene. I hope you like it.....
 This little girl I just adore!  She's so cute sitting there taking a break after pulling the corn ... makes me miss the fact I didn't grow corn in the garden this year.
I love this gal on the bike.  I have her dancing as well and am working on a card with her so keep an eye out for it to post here soon.  I mean really, isn't this old gal just too wonderful?!?!?!?!

I hope you're enjoying your visit here and hope you sign up to get an email when I update and you are most welcome and encouraged to leave a comment.  Be it good or bad, it's all welcome.

Thanks to stopping by, see ya next time!

Cara Febe